6 Tips for the Best Gem Photos
August 8, 2014
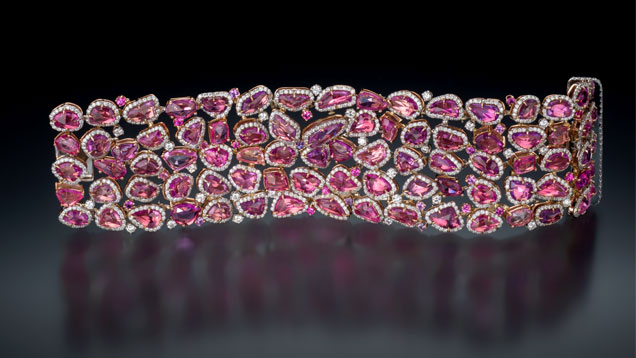
He offered these six photo tips at the 2014 JCK Show in Las Vegas.
Tools
Camera and lenses – Use a high-end digital Single Lens Reflex (SLR) camera capable of shooting images 16 mega pixels and above. A 60-80 mm macro lens capable of 1:1 magnification makes it possible for you to focus on your subject matter from a distance of 5 inches or more. Weldon traditionally uses a 105 mm lens.
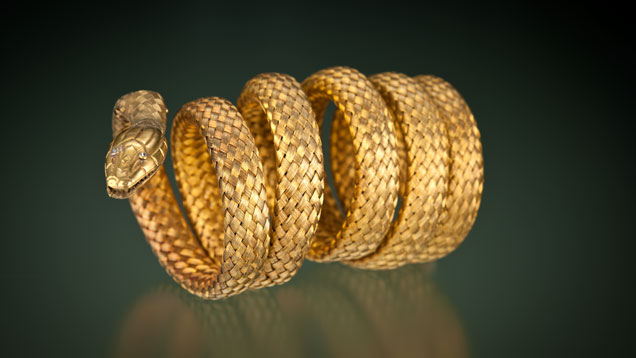
This Victorian gold snake bracelet (circa 1875) features woven, stamped and engraved gold set with diamond eyes. Gift of Mona Lee Nesseth, photo by Robert Weldon/GIA
Lighting – Studio strobe lights, continuous lighting, LED lights and simple flash units give you a variety of lighting options. The investment in a system can be significant, so carefully consider how gems or jewelry will be lit, and how light interacts with them.Stage – Create a platform or area where your subject will be photographed. Many photo supply companies sell pre-fabricated light boxes, or you can use a white cloth tent or cocoon made of translucent plastic, to control the environment and create diffused lighting, which scatters light, softens shadows and provides uniform lighting for your subject.
A consistent light arrangement and staging is ideal for appraisers and jewelers who want to catalog what they have worked on or record inventory in an environment that does not change. This provides consistency in the way the images look, but little in the way of creativity or artistic license.
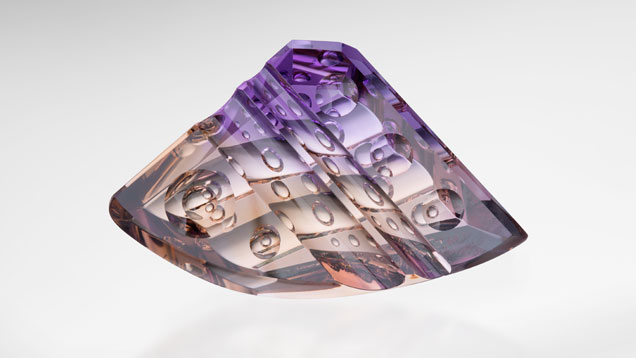
This large, 201.06 carat ametrine is from Bolivia. Courtesy of Michael M. Dyber, gem designer, photo by Robert Weldon/GIA
Tripod – A tripod will help eliminate camera movement, especially with continuous lighting systems, and make it easier to compose the best possible photograph.Tweezers, sticky wax or tape and gem cloths – Sticky wax and tape help the photographer address minute details, such as placement of the object on a stage. As in gemology, gem cloths are invaluable to clean a gem or remove fingerprints and dust. Tweezers are used to avoid getting new or more fingerprints on the gems, especially after they have been wiped with a gem cloth. Because items are magnified through macro photography, make sure such details to do not detract from the object.
Beautiful Objects
Choose the best-cut stone or the most beautifully made jewelry. A well cut stone that doesn’t show light leakage take less time to prepare for the photo and is easier to position in a flattering manner. That said, it is always good to change the position of a jewel, and remember to document a piece from the front and back.
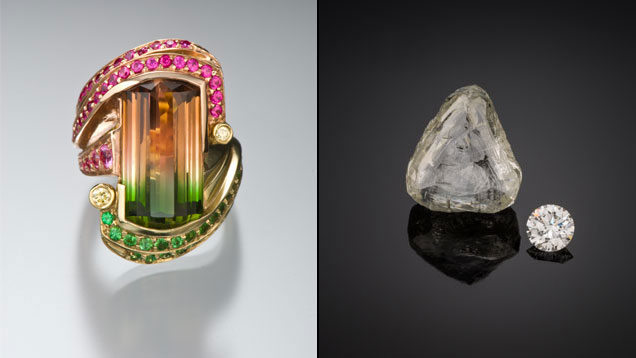
Left: Jeffrey Appling designed this bicolored tourmaline ring with green and pink gold, tsavorite garnet, pink sapphire and natural yellow diamonds. Courtesy Jeffrey Appling. Right: These diamonds – 22.32 ct macle, left, and 1.01 ct round brilliant – are from the Oppenheimer Collection. Gift of DeBeers. Photos by Robert Weldon/GIA
BackgroundCarefully choose the material that will act as a background to your subject matter. You want to make sure you choose a material – fabric, stone, tile, glass, or wood – whose texture or color doesn’t compete with the object. A good rule of thumb: if the subject matter is light, choose a dark background and if it is dark, choose a light background. This will ensure there is high contrast between the object and the background, which is always appealing to the eye. Also, white backgrounds tend to have a more clinical feel, while black often adds a dramatic touch.
Successful is when a viewer likes the “mood” of an image but is not distracted by the background. Remember, your gem or jewel is the focal point and most import aspect of the photo.
Props
Use props to tell the story of the piece. A cameo placed on ancient books, for example, conveys a sense of history. Make sure the colors of your props are different enough that the piece stands out from them or is complimented by them. You can also use props to establish the scale of the object.
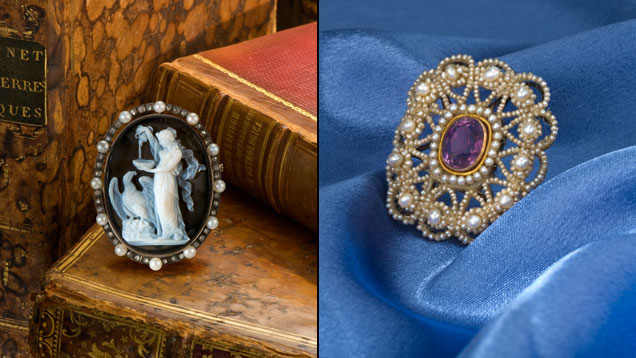
Left: Weldon used rare books from “Tablet to Tablet,” a library museum exhibit in Carlsbad, as a background for this cameo brooch. Courtesy of Elise Misiorowski. Right: The rectangular cushion-shaped amethyst and pearl brooch is displayed on blue fabric. Courtesy of KCB Natural Pearls. Photos by Robert Weldon/GIA
Post-Shot ProcessingMost images can be enhanced with a little bit of Adobe Photoshop work. This photo-editing software makes it possible for you to clean dust and remove glue or sticky-wax that may be showing. While this software can be used to change color, it should only be used to correct the color to match the actual gemstone. In some cases, items can be cut out of a background, or a halo-lighting effect can be used to create a mood or spotlight a special aspect of the piece. Photoshop can also be used to convert the format of the photo for various media (print, email and web).
Never use Photoshop to change the “truth” of a photo. For example, don’t take out inclusions, abraded facet junctions or dramatically change the color of a stone, such as altering a pink stone to a deep red. It is unethical to make such significant changes without disclosing that you have done so.
Be Patient
Keep trying. Author Malcolm Gladwell often refers to the "10,000-Hour Rule" in his book “Outliers,” saying the key to success in any field is due, to a large extent, to practicing a specific task for a total of around 10,000 hours. Applying that adage to photography, consistent “perfection” comes after your 10,000 image.
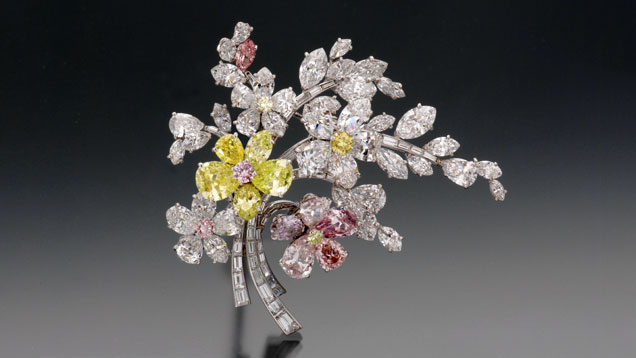
Designed in New York by Max Halpels for Bulgari, this floral platinum brooch is set with 47 natural, fancy colored and fancy cut diamonds that weigh a total of 29.38 carats. Courtesy of the Royal Ontario Museum in Toronto, Canada, photo by Robert Weldon/GIA
About the Author
Amanda J. Luke is a senior communications manager at GIA. She is the editor of the GIA Insider and Alum Connect and was the editor of The Loupe magazine.